How to Replace a Bicycle Brake Cable at Home
Introduction
A properly functioning brake cable is crucial for bike safety. Over time, cables can stretch, fray, or become less responsive. The good news? Replacing a bicycle brake cable at home is simple with the right tools and guidance.
In this guide, we’ll walk you through step-by-step instructions to replace both rim and disc brake cables safely and efficiently.
Tools You’ll Need
- New brake cable and housing
- Cable cutters
- 5mm Allen key or appropriate size for your brakes
- Pliers
- Lubricant (optional)
- Screwdriver (for cable anchor bolts)
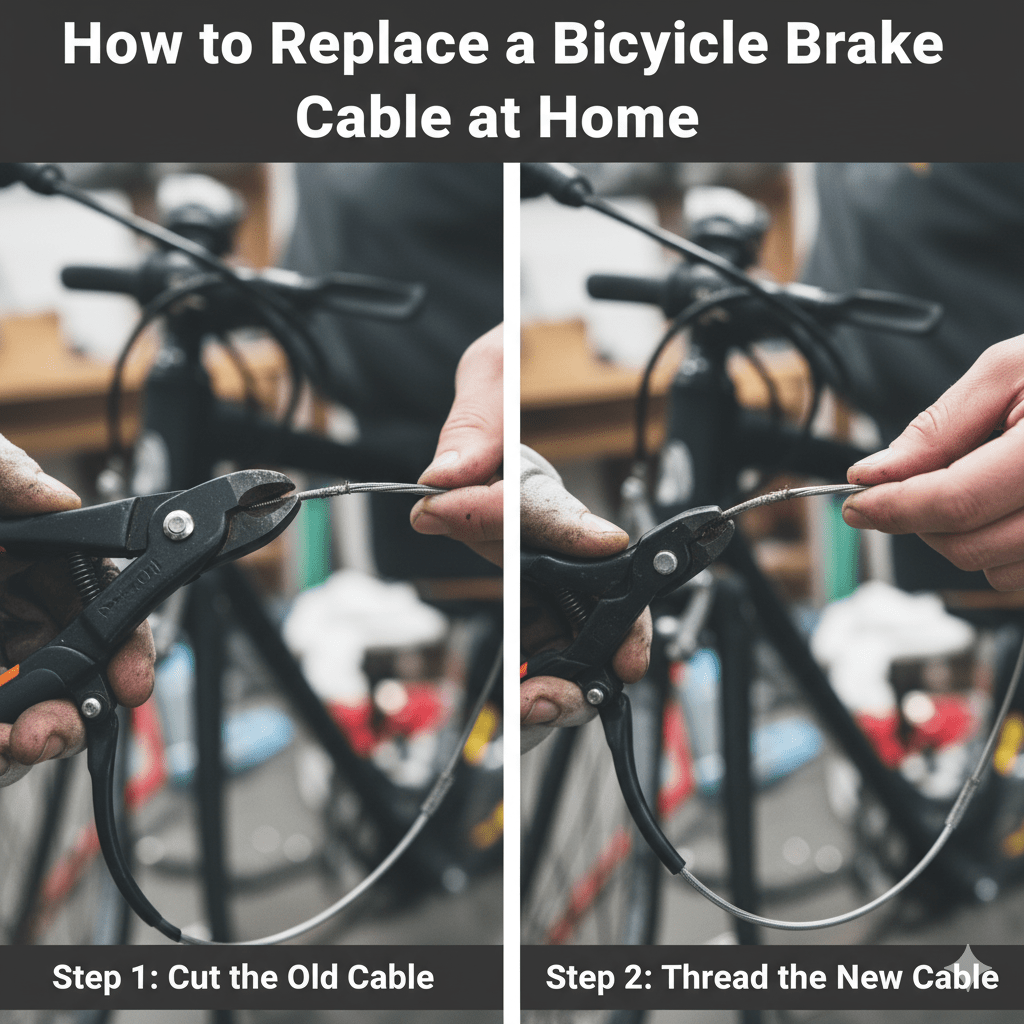
Step 1: Remove the Old Brake Cable
- Shift your brake lever to release tension.
- Use an Allen key or screwdriver to loosen the cable anchor bolt on the brake caliper.
- Slide the old cable out of the housing carefully.
- Inspect your brake housing for any damage or dirt. Replace if necessary.
Step 2: Prepare the New Cable
- Measure the new cable against the old one to ensure the right length.
- If necessary, cut the cable to size using cable cutters.
- Slide the cable through the new housing. Apply a small amount of lubricant to reduce friction (optional).
Step 3: Install the New Cable
- Insert the cable through the brake lever first.
- Thread it through the cable housing and guide it to the brake caliper.
- Pull the cable tight and secure it using the anchor bolt on the brake caliper.
Step 4: Adjust the Brakes
- Squeeze the brake lever to test tension.
- Adjust the cable tension using the barrel adjuster or by loosening/tightening the anchor bolt.
- Ensure the brake pads contact the rim (rim brakes) or rotor (disc brakes) evenly.
- Test by spinning the wheel and applying the brake.
Step 5: Trim and Cap the Cable
- Trim any excess cable, leaving about 2–3 cm beyond the anchor.
- Place a cable end cap to prevent fraying.
- Check brake responsiveness one more time before riding.
Tips for a Smooth Brake Cable Replacement
- Replace cables once a year or if frayed.
- Keep your brake housing clean to avoid friction.
- Use quality cables for better performance and longevity.
- Test brakes before every ride after replacement.
Conclusion
Replacing a bicycle brake cable at home is a straightforward task that can save you time and money while keeping your bike safe. By following these simple steps, you’ll ensure your brakes remain responsive, reliable, and ready for the road or trail.
At Laxzo.com, you’ll find high-quality brake cables, housings, and bike maintenance tools to make DIY upgrades easy.